
The froggy pose is one of our most popular and most requested newborn poses. This isn’t a pose you jump into immediately as a new photographer. Once you have mastered simple poses like side lying, tushie up and wrapped poses and are consistently keeping your newborns asleep, comfortable and posable throughout sessions you may be ready to try the newborn frog pose.
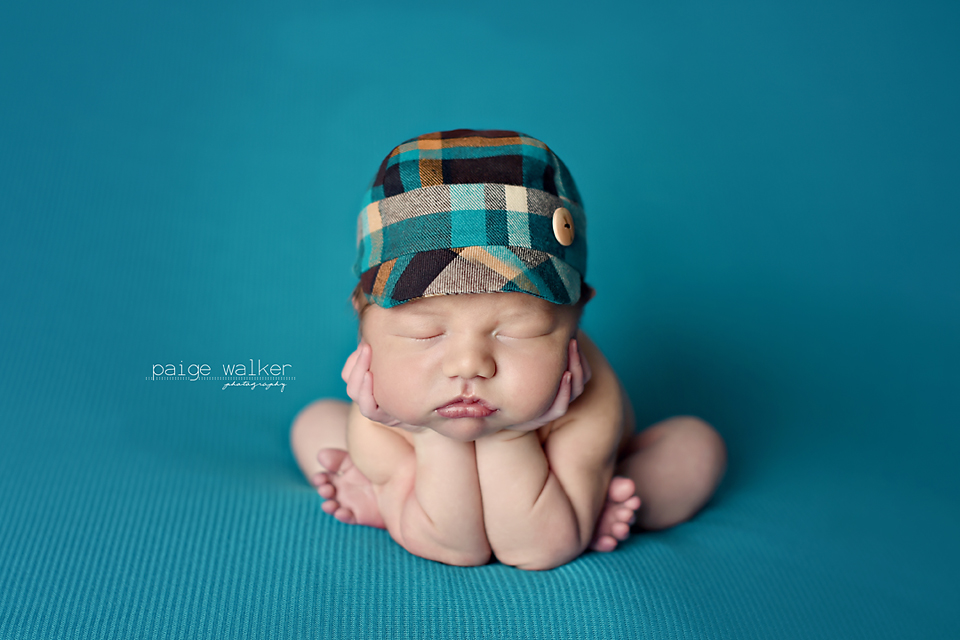
When done correctly, it really is an adorable photo. The entire face is visible, cute little feet are poking out, it’s just precious.
Keep in mind I have a full time employee, not only does she run the business, do all customer service and view and order appointments, she assists on photo sessions. We have been working together for years and she knows my next move before I even make it. Since I do all of the baby posing and this pose really requires two people, she takes the picture of the froggy set up every time. Before I had Lauren, I would pose the baby and then transfer to the parents hands after giving them a quick lesson on how and where to hold the baby so that I could get a good composite.
Not sure what a composite is? It’s two or more images that are layered over each other in photoshop and combined to make a final image.
Step 1: When baby is good and asleep and passes what I like to call the floppy arm test, I begin. When you are holding the baby, if you pick up their arm and it just flops down, they are sleepy enough.
Step 2: I pose the baby in my lap first. Try and get them in the general folded over position and at least one hand up under their chin.
Step 3: When the baby is comfortable in your lap, transfer them to the beanbag. I keep one hand on their arms and the other on their back.
Step 4: You may need to do some light rocking and soothing in the froggy position before they are settled in enough to finish posing.
Step 5: Carefully reposition hand that is already under the chin and place the other hand under the chin.
Step 6: Work on the details, straighten and flatten fingers, adjust feet, put on hat or accessories.
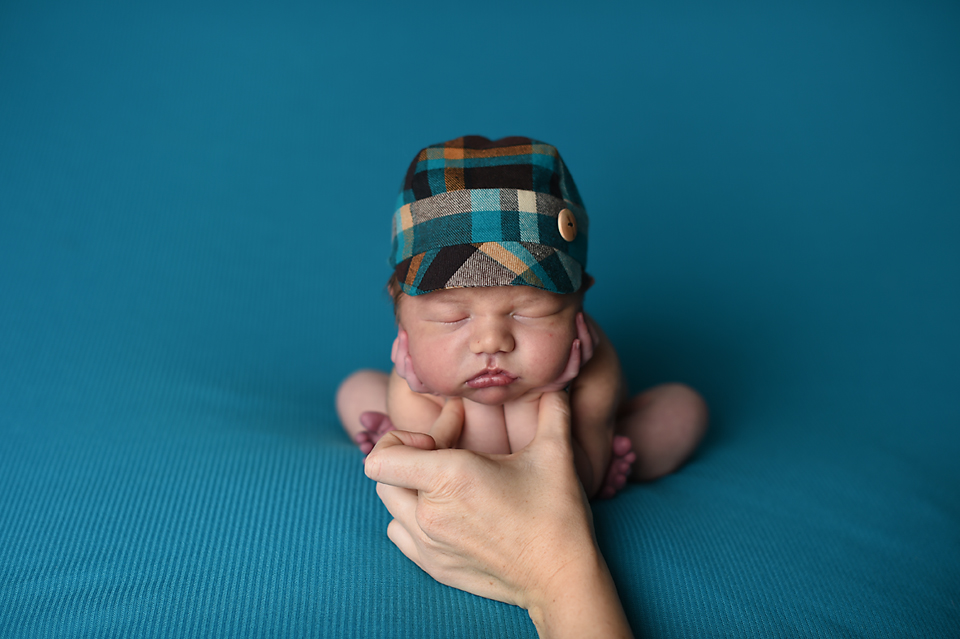
Step 7: Transfer hands with the parent or if you have an assistant just let them take the shot, or heck even let the parent take the shot if you have it all set up. I did that about three or four months ago when Lauren was out of town. The dad took the shots after I explained exactly what to do and it worked out great. Baby’s safety is first priority always. I like to have 3 shots to work with of the first image just in case one isn’t in focus.
Here is what the first image will look like.
Step 8: While your hands are still supporting baby’s wrists, put your other hand on their head, you will still be supporting the baby with your hand on their head. Most of them could just balance by themselves, so you aren’t necessarily squeezing their head or anything, just a gentle support.
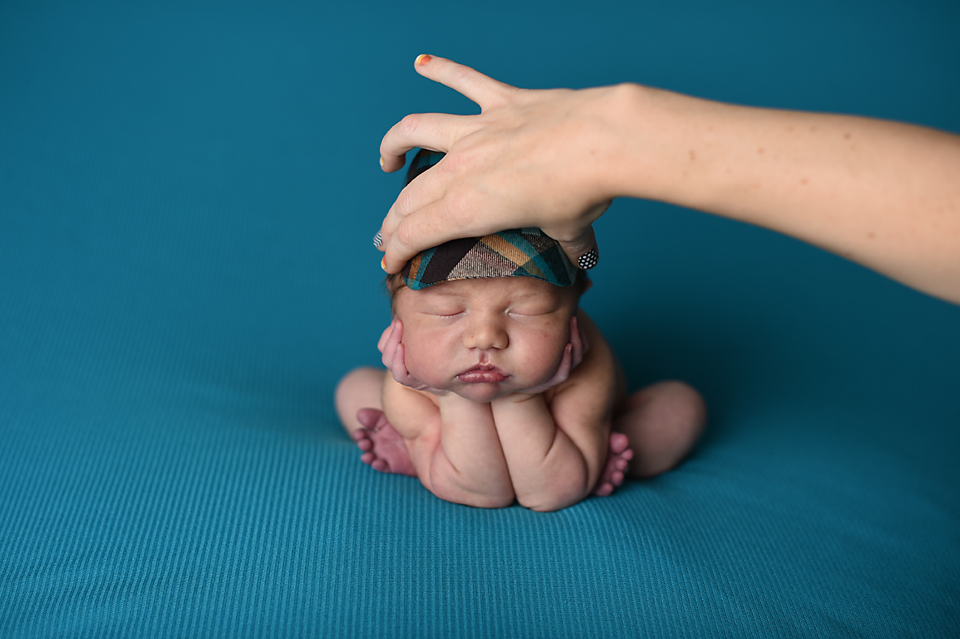
Step 9: It’s important to know that the person taking the picture can not move. The images have to be so similar to get them to line up easily in post processing. Take 3 shots and carefully lay baby down on their side to remove them from this pose.
Step 10: Composite editing. Open both images in photoshop. Take your lasso tool and lasso around the top portion of the image where you are holding their arms just getting the head, hands, shoulders, basically the top portion of the baby. Go to edit, cut. Pull up image that has you holding their head and go to edit, paste. Then go to edit, free transform (command t on a mac). Lower the opacity in the layers palette so you can see exactly where to line up the two images. I like to line up the eyes. Raise your opacity back to 100%. Create a layer mask on layer 1. Hit command i on a mac, control i on a pc to invert the layer mask. Then it should look back to the original. I then take my brush tool, make sure it is on white and paint on the top of the baby’s head over where my hand was holding. You may have to do a teeny bit more adjusting with free transform and maybe some cloning to get the full arm of the spotter out. And that’s it. Well, at least for the composite portion.
Step 11: Once you are satisfied and everything lines up, you flatten your image and begin editing as usual.
The newborn frog pose, is definitely advanced, so when beginning only attempt it on your sleepiest most chill babies. Eventually you will be nailing it on 99% of the babies like we do!


Comments +